If you face all those problem, just call us and we will give you a simple way to do it.
Contact Us For Free Sample !

As caregivers, one of the most essential tools we use to transfer and move patients with limited mobility is a Hoyer lift. When using a Hoyer lift, the correct installation of the lift sling is crucial for the safety and comfort of the patient. In this guide, we will walk you through the proper steps to install a Hoyer lift sling for maximum effectiveness.
Choosing the Right Sling
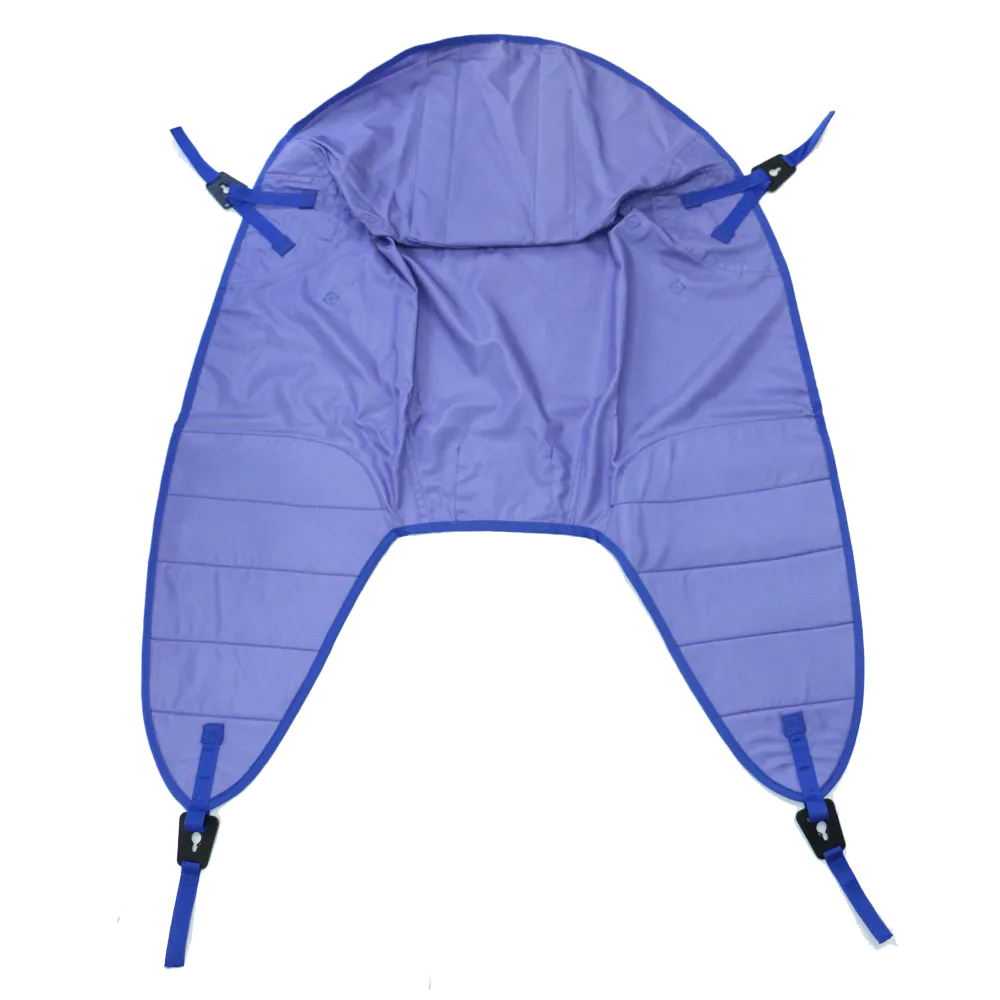
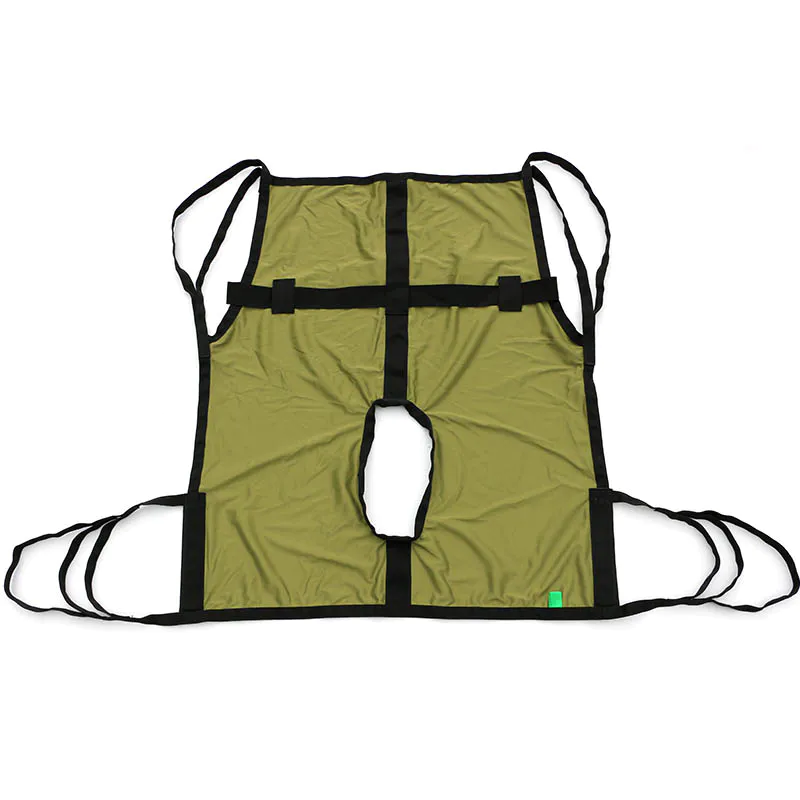
Before installing a Hoyer lift sling, it is important to choose the right sling for the patient's needs. There are different types of slings available, including full-body slings, toileting slings, and amputee slings. Full-body slings are the most common type and are suitable for patients who require full-body support during transfers. Toileting slings have an opening at the bottom for toileting purposes, while amputee slings are designed for patients with leg amputations.
When selecting a sling, consider the patient's weight, height, and level of mobility. It is crucial to choose a sling that can safely support the patient's weight without causing discomfort or skin irritation. Additionally, ensure that the sling is the appropriate size to provide proper support and prevent any risk of injury during transfers.
To ensure the correct size, refer to the manufacturer's sizing guide and measure the patient's waist, chest, and thigh circumference. It is also recommended to consult with a healthcare professional or physical therapist for guidance on selecting the right sling for the patient.
Once you have chosen the appropriate sling for the patient, it is time to proceed with the installation process.
Preparation Before Installation
Before installing the Hoyer lift sling, it is essential to prepare the patient and the environment for a safe and successful transfer. Start by explaining the transfer process to the patient and addressing any concerns they may have. Ensure that the patient is in a comfortable position before initiating the transfer.
Next, inspect the Hoyer lift and sling for any signs of wear or damage. Check the sling's straps, loops, and hooks for integrity and ensure that all components are secure and in good condition. It is crucial to replace any damaged or worn-out parts before using the sling to prevent accidents or injuries during transfers.
Clear the transfer area of any obstacles or hazards that may impede the transfer process. Ensure that the Hoyer lift has sufficient space to maneuver and operate safely. Position the lift near the patient's bed or chair and lock the wheels to prevent any movement during the transfer.
Attaching the Sling to the Hoyer Lift
To attach the sling to the Hoyer lift, follow these steps:
1. Spread out the sling on a flat surface and identify the top and bottom ends of the sling.
2. Fold the top end of the sling over the spreader bar of the Hoyer lift and attach it securely using the sling's hooks or loops.
3. Ensure that the sling is evenly distributed on the spreader bar to prevent any uneven weight distribution during transfers.
4. Adjust the length of the sling straps as needed to provide proper support and comfort for the patient.
5. Test the security of the sling attachment by gently tugging on the straps to ensure that the sling is securely fastened to the lift.
Once the sling is securely attached to the Hoyer lift, it is time to position the patient for transfer.
Positioning the Patient in the Sling
Positioning the patient in the sling is a critical step in ensuring a safe and comfortable transfer. Follow these guidelines to position the patient correctly in the sling:
1. Assist the patient in sitting upright on the edge of the bed or chair.
2. Slide the sling behind the patient's back and under their thighs, ensuring that the sling is positioned correctly and evenly distributed.
3. Cross the sling straps over the patient's chest and secure them with the buckle or hook-and-loop fastener.
4. Adjust the position of the sling to provide proper support for the patient's head, neck, and back.
5. Ensure that the patient's arms are positioned comfortably by their sides or across their chest, depending on their mobility level.
Before initiating the transfer, check that the patient is secure and comfortable in the sling. Address any discomfort or concerns the patient may have before proceeding with the transfer process.
Initiating the Transfer
Once the patient is properly positioned in the sling, it is time to initiate the transfer using the Hoyer lift. Follow these steps to transfer the patient safely and effectively:
1. Position the Hoyer lift directly over the patient and engage the lift's hydraulic system or electric controls.
2. Gently lift the patient using the lift, ensuring that the sling provides adequate support and comfort throughout the transfer.
3. Communicate with the patient throughout the transfer process to address any concerns or discomfort they may experience.
4. Position the patient in the desired location, such as a wheelchair, commode, or bed, and lower them gently onto the surface.
5. Disconnect the sling from the lift and remove it from the patient once the transfer is complete.
After completing the transfer, ensure that the patient is comfortable and secure in their new position. Make any necessary adjustments to the patient's posture or positioning to prevent any discomfort or pressure points.
Conclusion
Properly installing a Hoyer lift sling is essential for ensuring the safety and comfort of patients during transfers. By following the guidelines outlined in this guide, caregivers can effectively install a Hoyer lift sling for maximum effectiveness. Choosing the right sling, preparing the patient and environment, attaching the sling to the lift, positioning the patient correctly, and initiating the transfer are key steps in achieving a successful transfer. Remember to always prioritize the patient's safety and comfort when using a Hoyer lift, and consult with a healthcare professional for guidance on proper sling use and installation.

We Chuangguo was established in 2003 and based in Dongguan City, Guangdong, China.
If you face all those problem, just call us and we will give you a simple way to do it.
Contact Us For Free Sample !
Copyright © 2025 Gongguan Chuangguo Daily Products Co.,Ltd. | All Rights Reserved
Hello, please leave your name and email here before chat online so that we won't miss your message and contact you smoothly.